|
For ages now I've been planning to make my own logo and then carve it into a rubber stamp myself. I love making things and thought this would be a fun and not too difficult or time consuming thing to do. I was wrong. I think sometimes it's good to outsource those jobs that require just a bit of professional experience and skill. Like my logo and stamps. So I asked the lovely, talented and patient Annette from Ginger Blue Graphics here in the Northern Rivers to help me create this logo which I'm so pleased with. And these awesome rubber stamps (with beautiful wooden mounts made from Western Australian Jarrah) are made by Scott at Penrith Rubber Stamps in Sydney. I could not be happier. 
1 Comment
There have been little red fabric mushrooms all over my work table this week. I feel like I've been sitting in my chair, stitching tiny French knots for days and days... but now I have a few of them finished so I will be listing three pairs of these little mushroom hanging ornaments (in a special gift box) in my online shop Wednesday 18 November, at 8:00pm (Australian Eastern Daylight Time). Best wishes, Margeaux 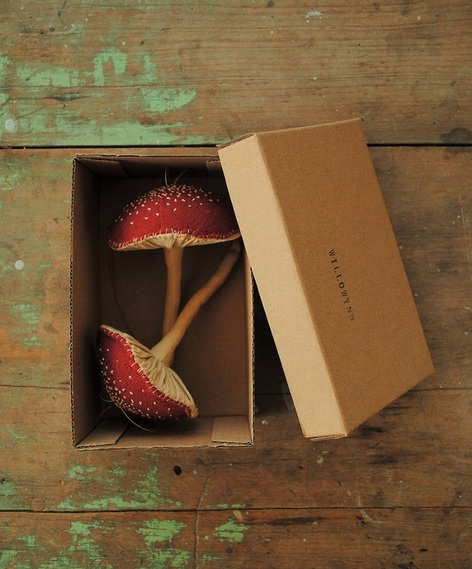 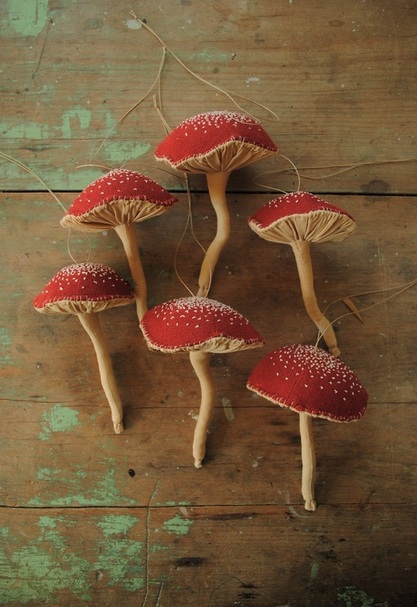 Matt and I had the beautiful task of making the arbour for my friend's wedding over the weekend. I made the flowers and he and the kids collected the branches and vines. It looked beautiful and was the most perfect day. 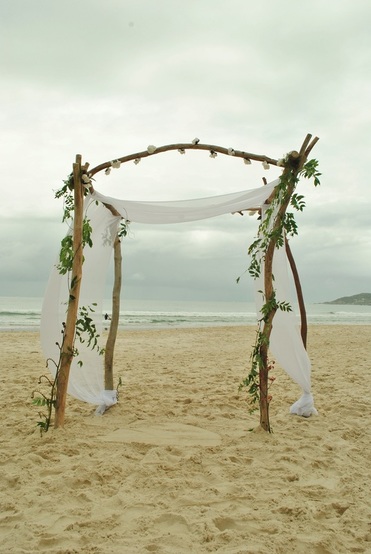 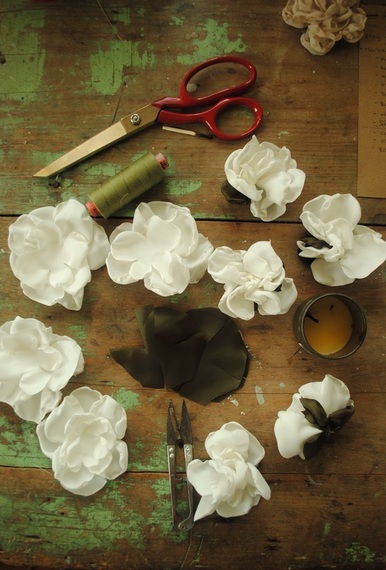 The flowers were really easy to make so I thought I'd share how I made them with you...
You will need: Polyester or rayon lining fabric in cream and leaf green, Candle and matches, Scissors, Needle and thread. Instructions (for one flower) Step 1: From the cream fabric, cut out three circles about 10cm in diameter, and two smaller circles about 7cm in diameter. Cut one circle from the green fabric about 7cm in diameter. Step 2: With your scissors, make five cuts (evenly spaced) into each circle from the edge of the circle towards the centre but don't cut all the way into the middle. These will be the petals (or leaves in the green fabric). Step 3: Hold each circle of fabric over a candle flame without letting the fabric actually touch the flame. The heat will make the edges of your fabric curl up like a flower petal and seal the edge to prevent fraying. Turn your fabric slowly to curl all the edges. Repeat for all circles. Step 4: Arrange the layers of petals - green layer at the bottom, then the larger layers and finally the smaller ones. Make a couple of stitches in the centre of the circles, through all the layers and secure. You could leave your flowers flat and open or make a few stitches in the bottom to bring the petals up and together slightly like I've done. I threaded a large needle with thick cotton and sewed all of my flowers onto a garland. You could sew or glue yours onto a hair clip or brooch, or use it to finish off your gift wrapping, a corsage or make them into a bouquet. Whatever you like. Enjoy! |
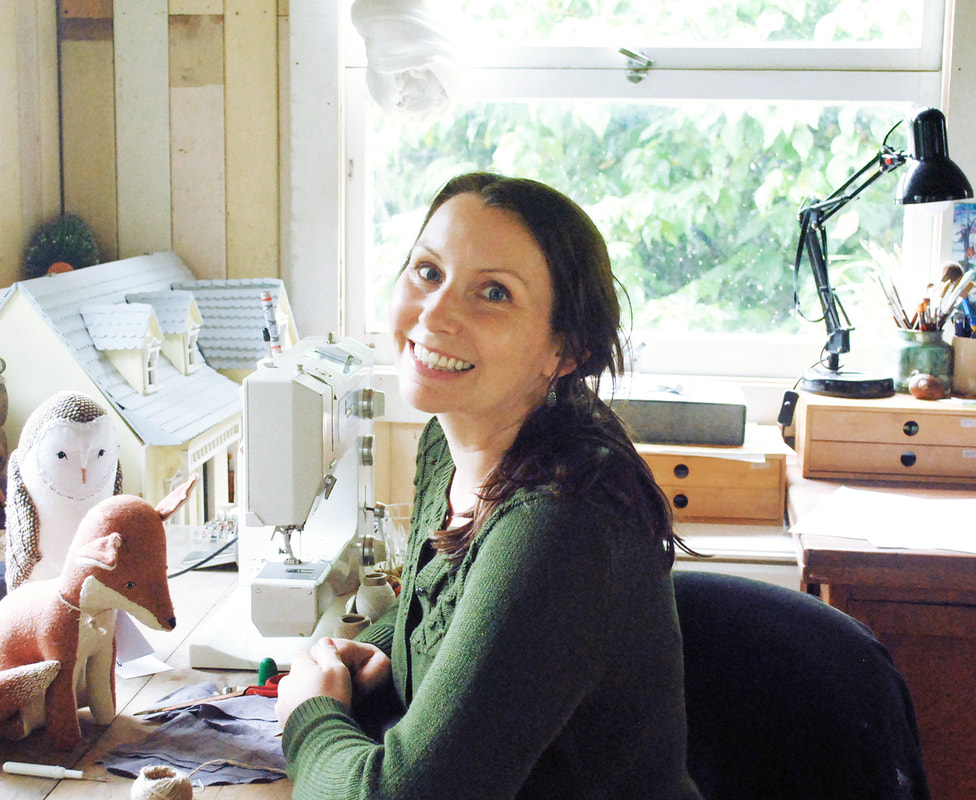
HelloMy name is Margeaux Davis. I'm a doll-maker, sewing pattern designer and children's book illustrator, based in northern New South Wales, Australia. Categories
All
|

 RSS Feed
©2013 Willowynn. All rights reserved.