|
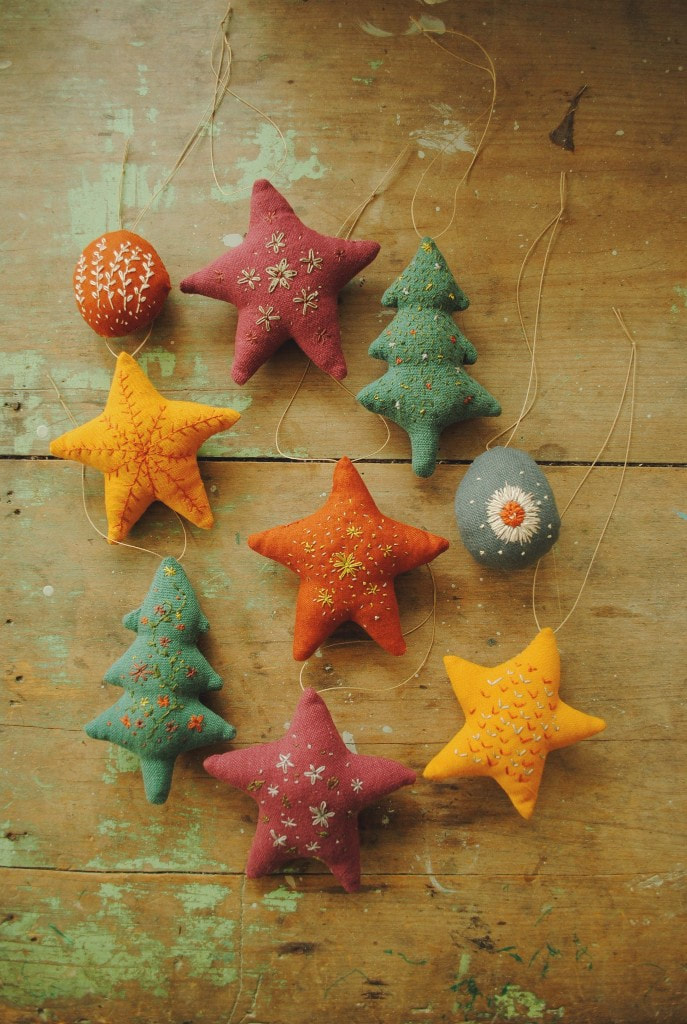
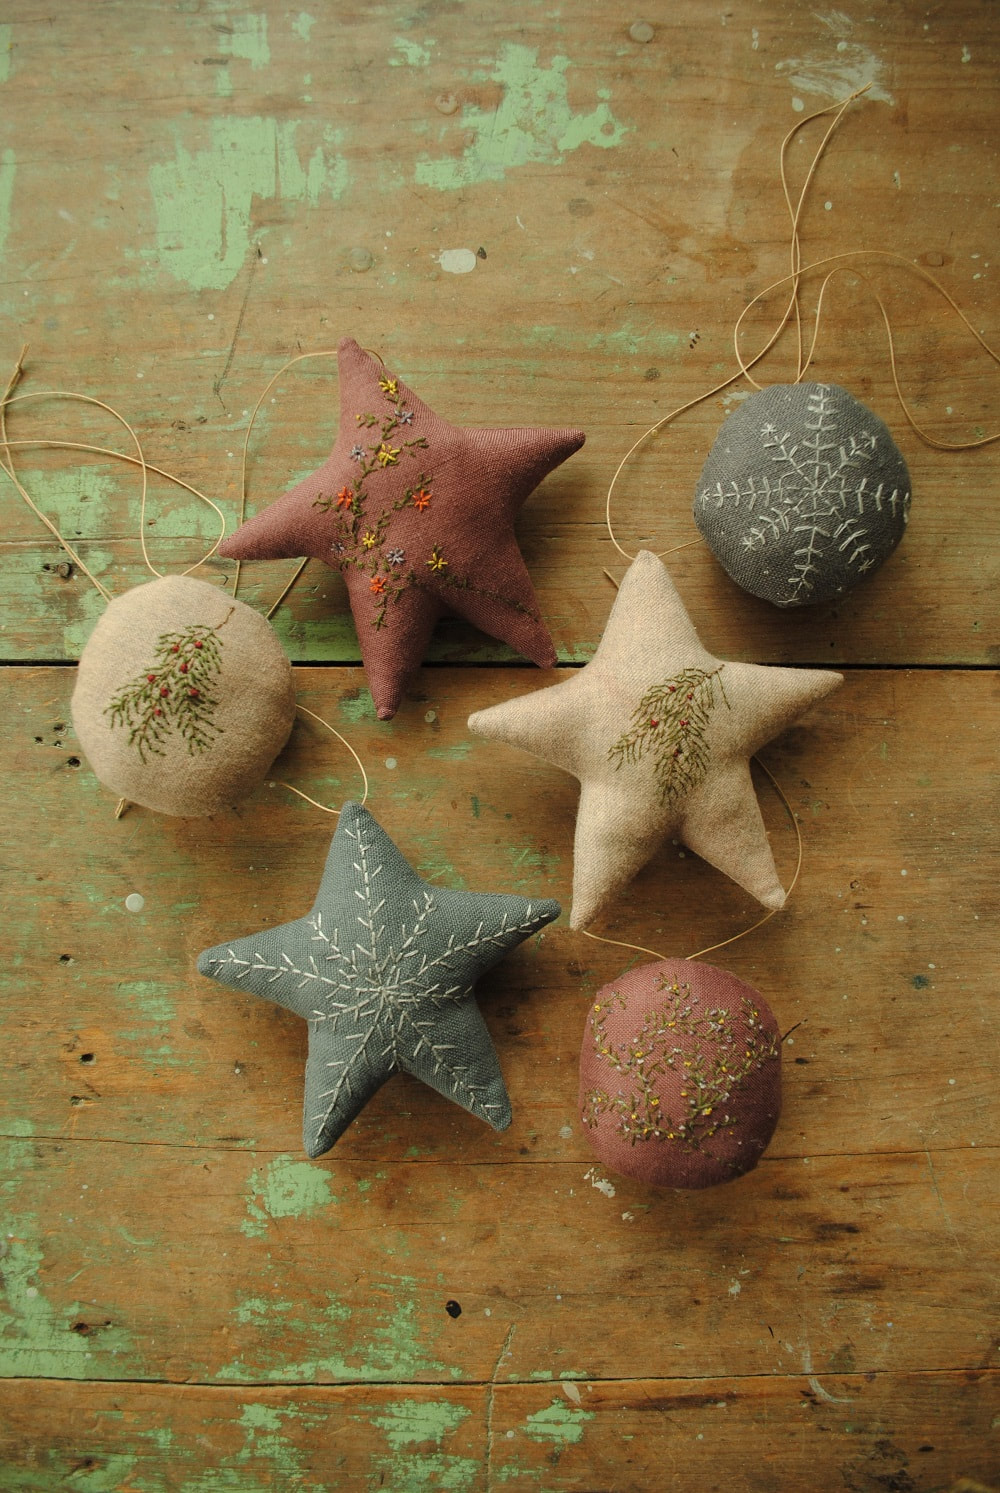
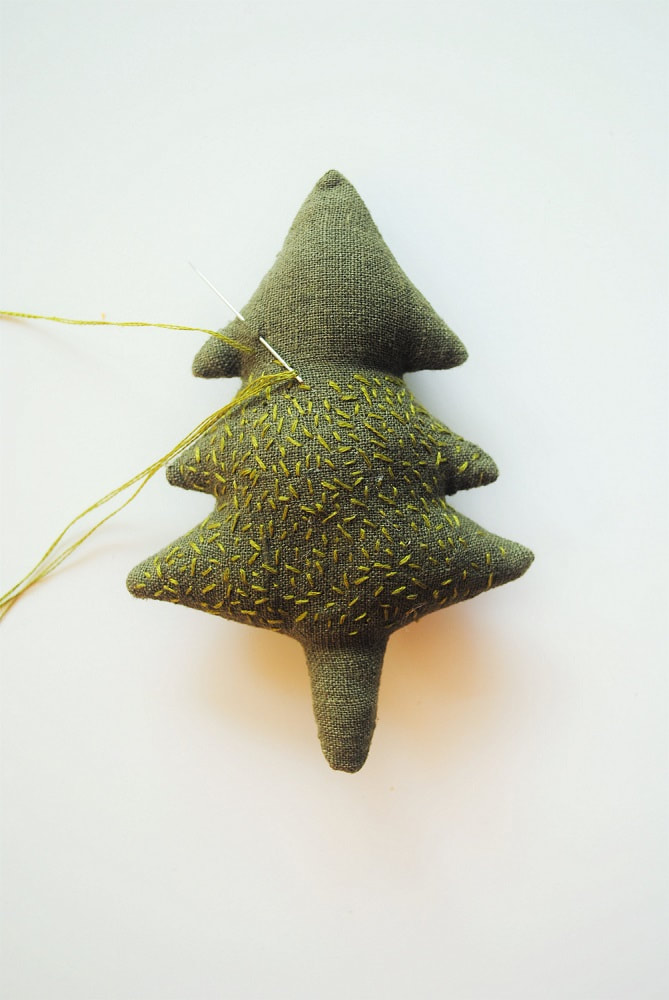
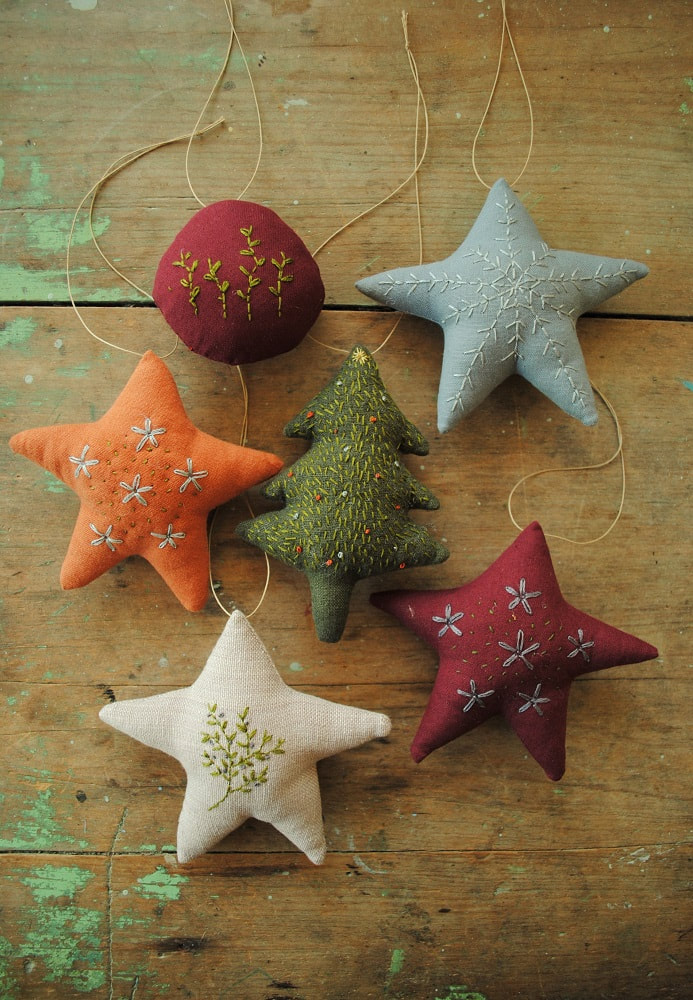
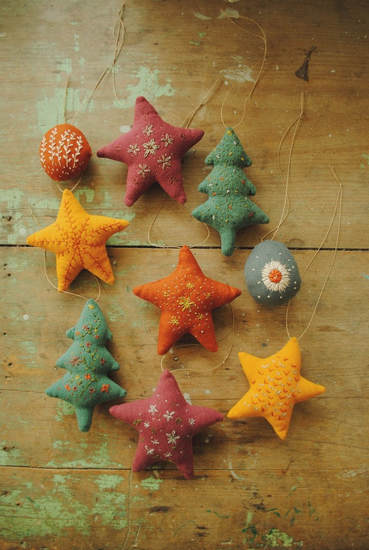
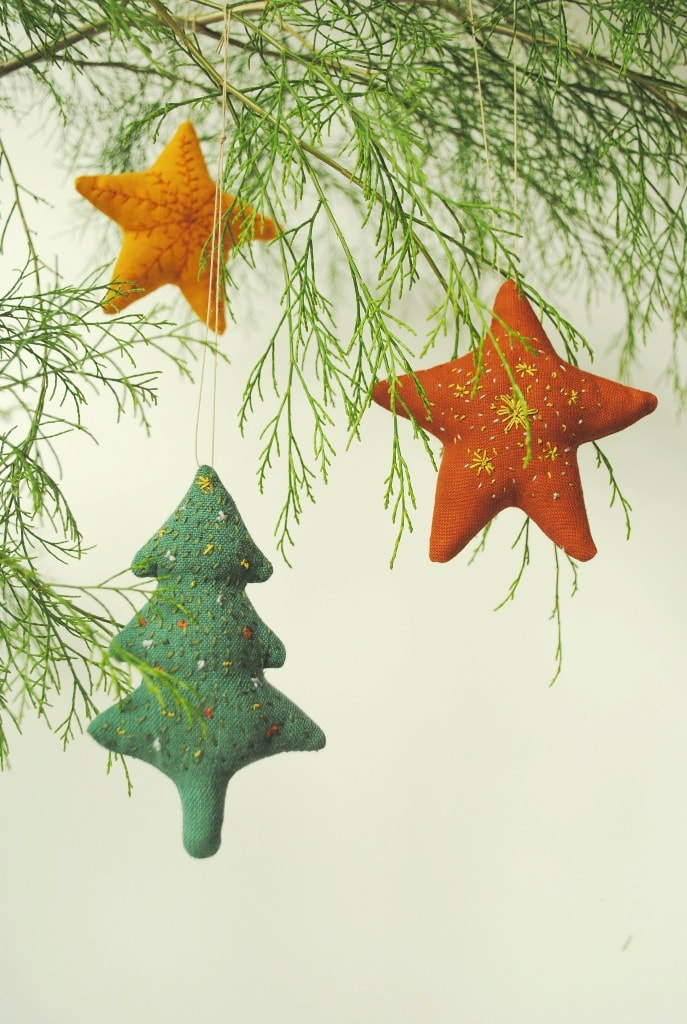
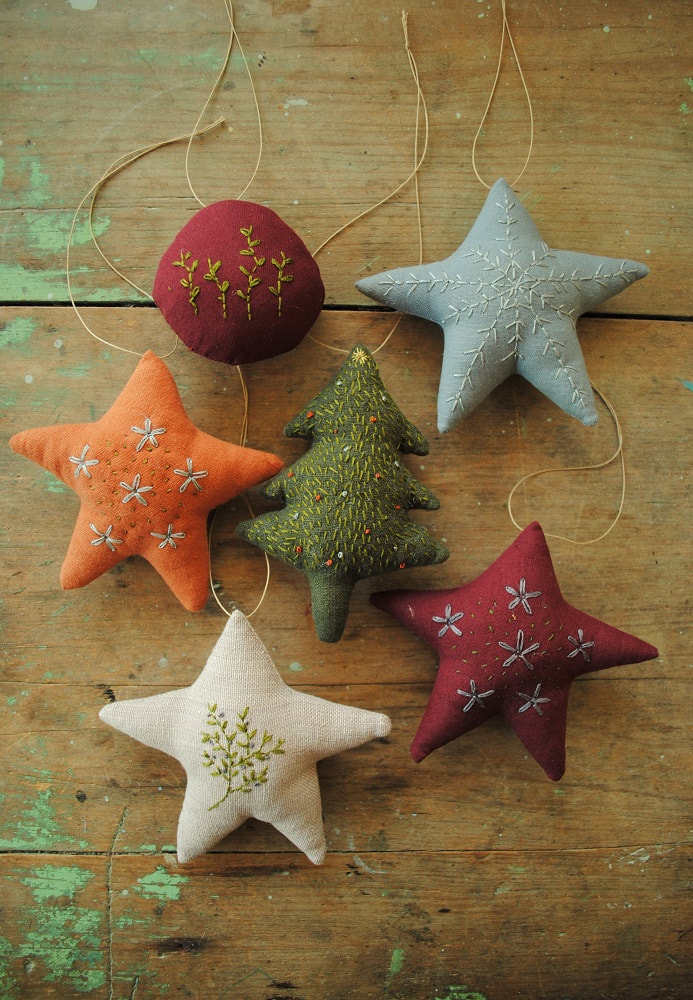
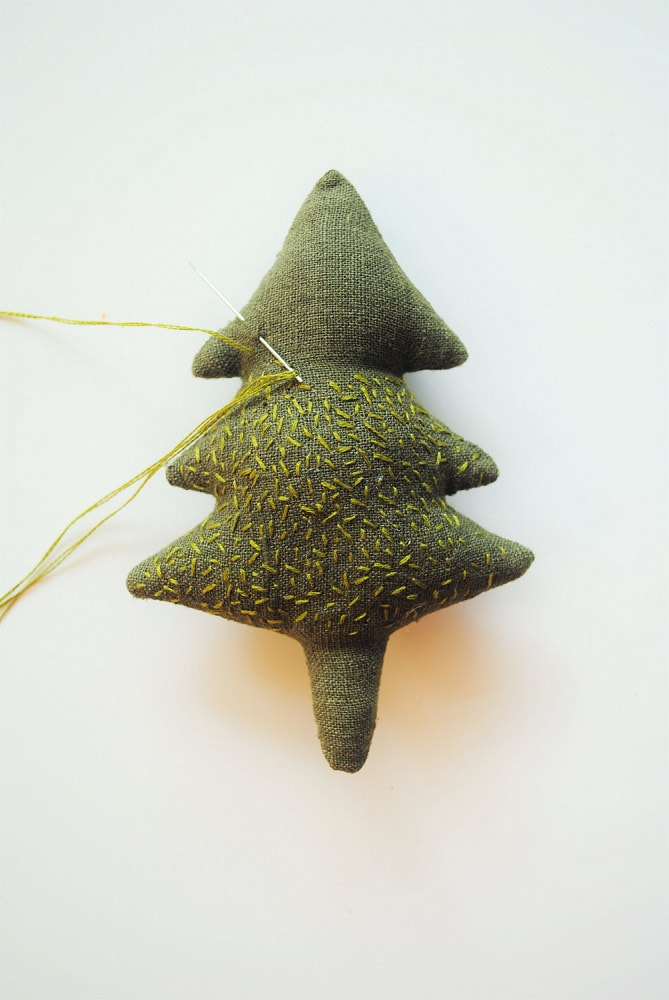
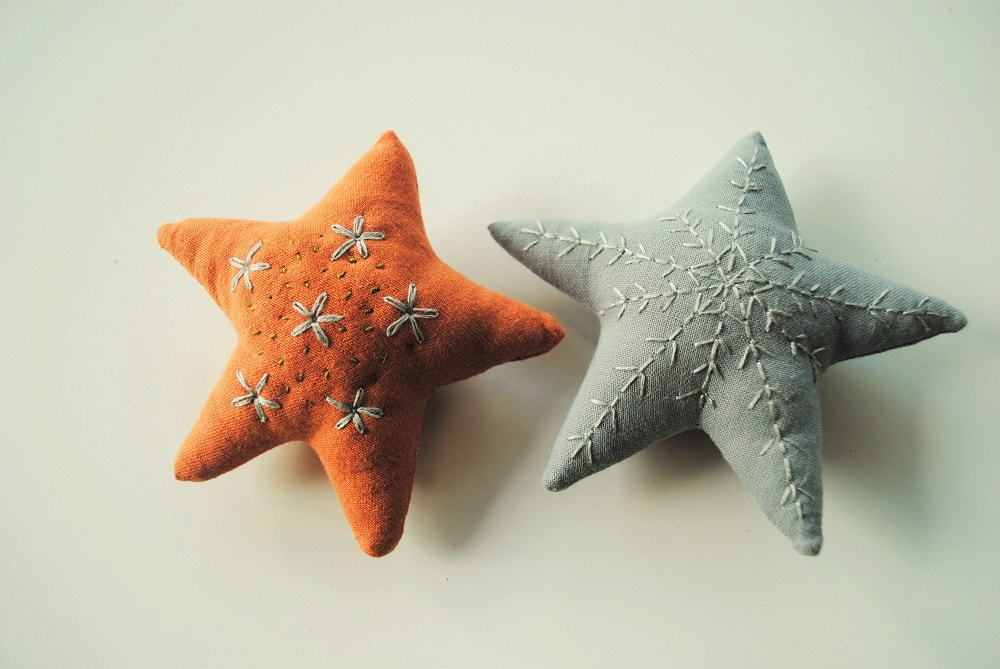
As most of us are staying at home right now, due to the Covid-19 pandemic, I thought I'd offer this soft sculpture / embroidery tutorial as a free download ... in case you're looking for something to do. It's also a great beginner sewing project for school children - for those of you at home with kids (me included). You can sew these using the sewing machine or by hand, and then decorate them with some simple embroidery stitches. The pattern includes instructions for stuffed fabric star, tree and round ornaments which are easy to sew, make great presents and look lovely hung on a garland or mobile (or anywhere really). I've put together some simple instructions, photos, an illustrated embroidery stitch library and templates. You can download the PDF sewing pattern here, for free, ready for you to print at home.
I hope you enjoy making these. You'll find more Willowynn sewing patterns available to download here.
5 Comments
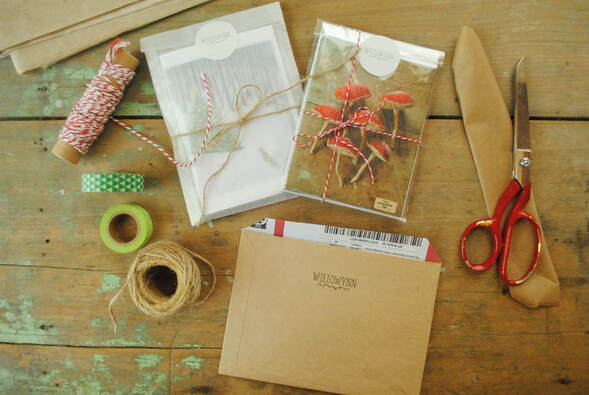
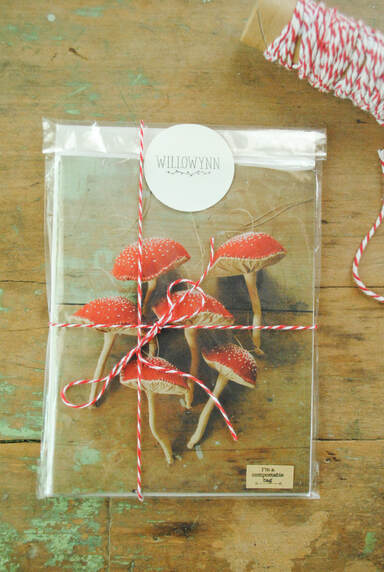
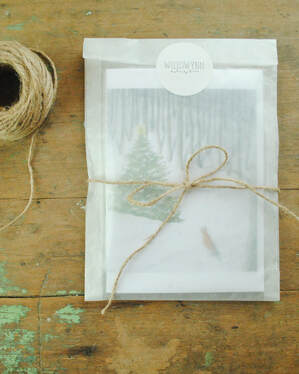
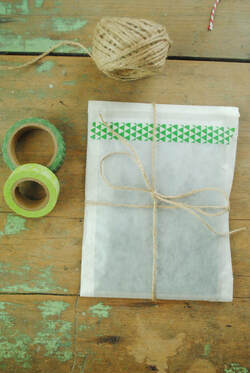
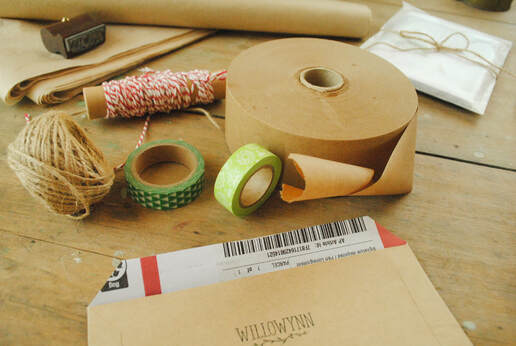
I've been looking for a more eco-friendly / plastic-free way to package my sets of greeting cards, postcards and art prints. Up until now I've used the standard resealable 'cello sleeve' to protect my card sets and prints when posting out to customers, thinking that these were cellophane and made of cellulose (plants). A couple of weeks ago, I ran out so went to order some more and found that, here in Australia, the resealable 'cello sleeves' are mostly not cellulose at all, but plastic. In fact, I read that (correct me if I'm wrong) if they are resealable (in Australia), they are almost certainly plastic. As I'm trying to reduce the amount of plastic I use, I had to find a new way to package my cards for mailing to customers. So I did a bit of research and here's what I discovered... Compostable, cellophane bagsThese are made from biodegradable cellulose, which is a product made from plant fiber. Just make sure they are not plastic and that they are definitely made from cellulose (plants). The bags come in a range of sizes, look and feel like plastic but can be home composted. I couldn't find any that self-seal here in Australia (lots overseas but I'm trying to shop local) so ordered some open cellophane bags at Buy Eco Green. I just use my logo sticker (paper) to seal the bag, and I think they look great. You could even use a bit of washi tape (made from paper, see below) or tie some twine or cotton string around the whole thing. Glassine paper envelopesGlassine is a specially pressed, smooth, shiny and transparent paper that is apparently water, air and grease proof. Much stronger than tissue paper and doesn't tear easily. It's also acid free and PH neutral so is perfect for storing precious artworks, photographs and collectible stamps. You can buy it in sheets for wrapping, or as envelopes or bags. I ordered small glassine envelopes for packaging my card sets. I think they look really sweet and I love that they're completely compostable and recyclable - I'd love them even more if they were made from recycled paper. TapePlastic sticky tape has always made me feel uncomfortable. Every Christmas morning as a child, I would try to take the sticky tape off all of the used wrapping paper strewn across the living room floor, before either carefully smoothing and folding the paper, or putting the un-salvageable paper in the recycling bin (a big job in a family with five kids). But what do you do with the sticky tape??? I guess you could put it in with the soft plastics recycling at your supermarket (if you have that in your area) but even that concerns me. What did we do before sticky tape? Some alternatives to plastic sticky tape:
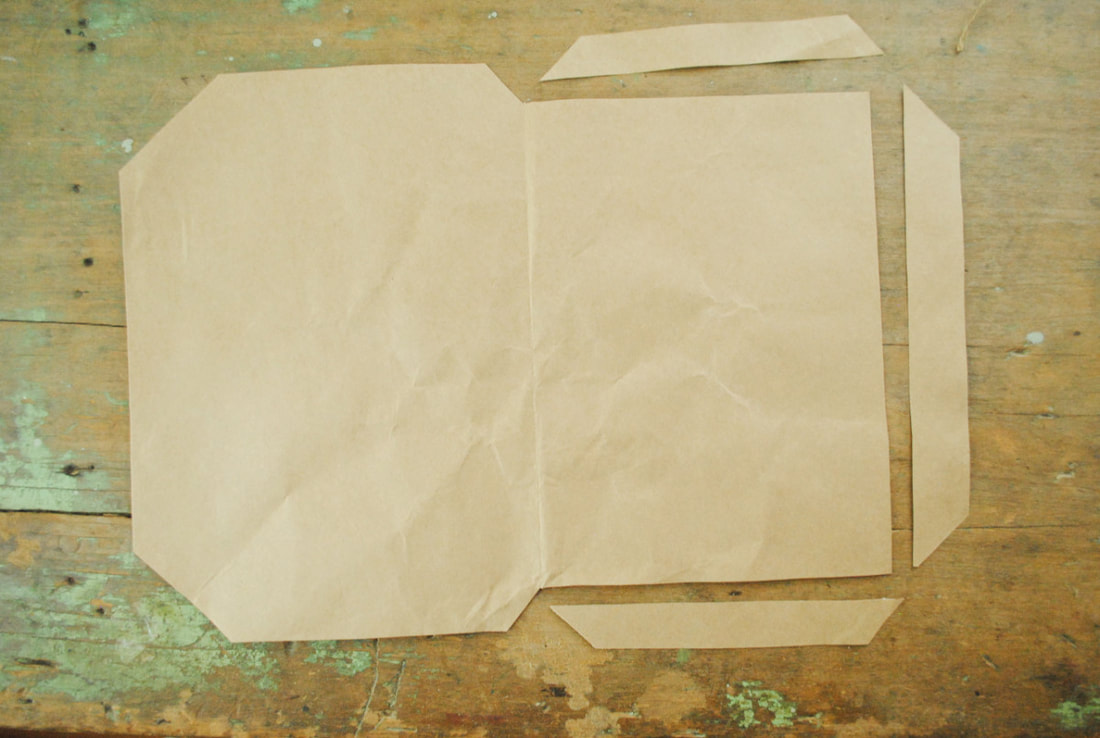
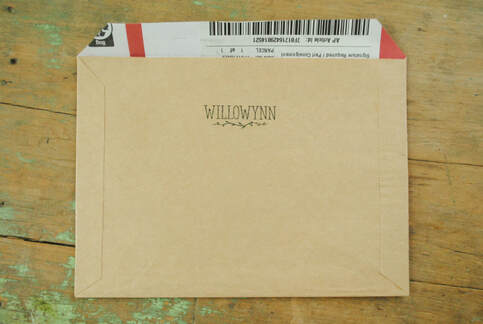
Mailing bags and envelopesTough paper or rigid cardboard mailers and envelopes are great as they can be composted or recycled (as long as there's no plastic tape). You can even go one step further by re-using old mailers. I keep my my used cardboard mailers (and my local post office holds on to their used mailers for me). I'm a bit over particular about how things look so I've started turning mine inside-out and making new tough envelopes for mailing my card sets to customers (see pics below). I find it fun :) Of course, larger items can be mailed in used cardboard boxes, but I'll be trying to avoid the plastic tape from now on (see above). And, while I'm on the topic of larger items, I'm always torn as to whether or not I should use the plastic bubble wrap that I've been hoarding from parcels I've received in the mail. I do use it to protect some of my soft sculptures when posting, hoping that the recipient will then re-use it and that it will be used over and over in this way. Maybe that's wishful thinking. I guess I could put it in with the soft plastics recycling... and find an alternative. Anyway, these are my thoughts on the packaging I'll now use for my cards (and other things) and I hope it's been helpful. Maybe you'd like to share some ideas that I haven't thought of, or correct me if I've got anything wrong! I'd love to hear your suggestions in the comments below.
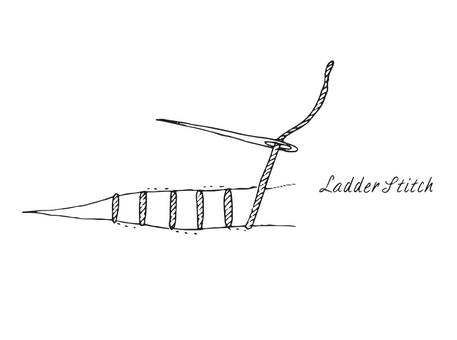
Margeaux Of all the embroidery and hand-stitches, ladder stitch is the one I use the most. It's how I close up all of my soft toys, dolls and soft sculpture, sew on extremities like ears and tails and attach tiny sleeves to doll dresses. I recommend ladder stitch in all of my soft toy sewing patterns and, as I am often asked how to sew a ladder stitch, I thought it was time I filmed a little demonstration for you. Please excuse the poor quality, my less than lovely gardening nails and the sound of macadamia nuts being harvested on the farm across the road! If the seam turns out a little puckered (as it has in my demo), you can go back over it with a second row of ladder stitch to smooth it out, or just make your stitches a bit closer together. I also drew a diagram (below)... I hope that helps!
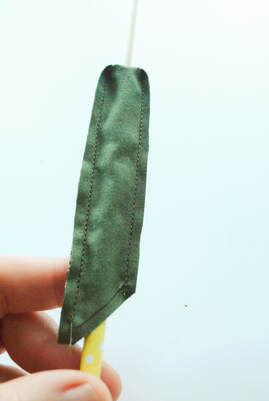
After a few requests, I thought I'd demonstrate an easy technique for turning out very narrow sewn shapes for stuffing, with a short video demonstration (below), If you have ever tried to sew and stuff really tiny doll legs, arms or the stalks in my mushroom sewing pattern, you will know how tricky and seemingly impossible it is. I've found a brilliant technique for doing this with ease, using a drinking straw and something long, small and pointy - like a small crochet / knitting needle or skewer. Instructions
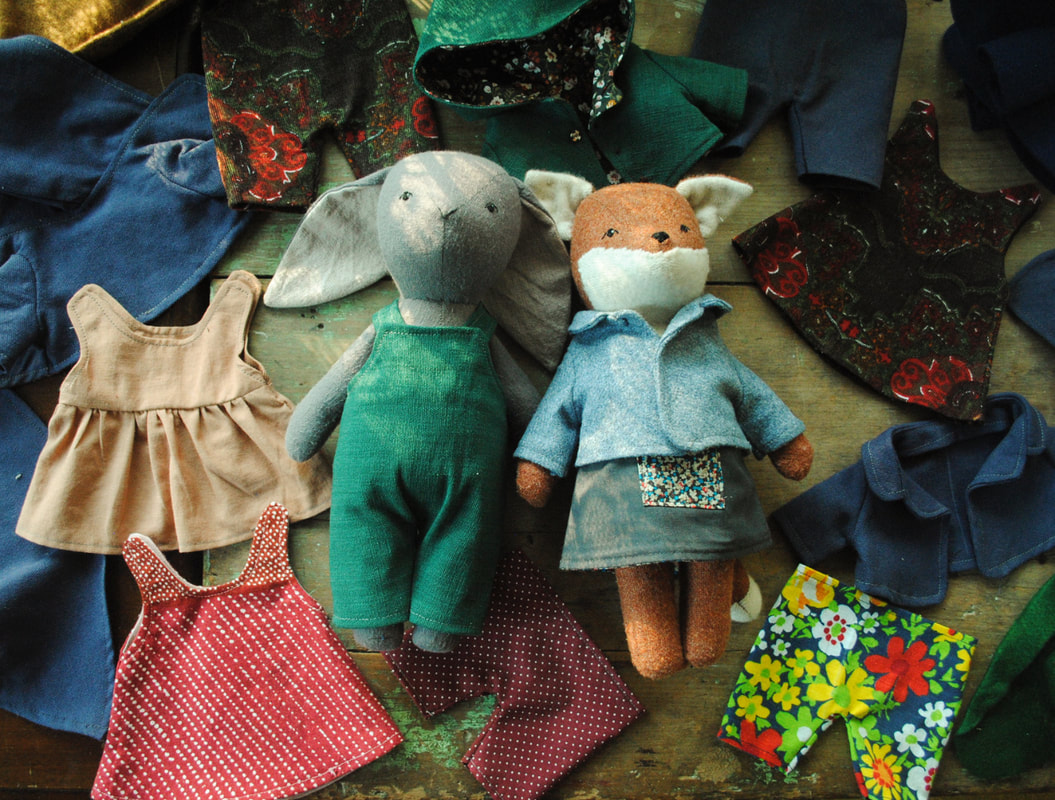
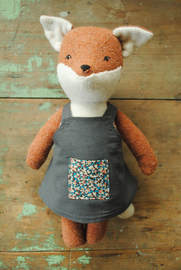
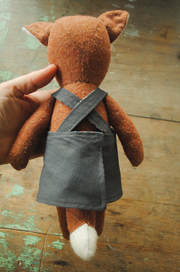
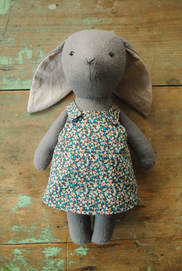
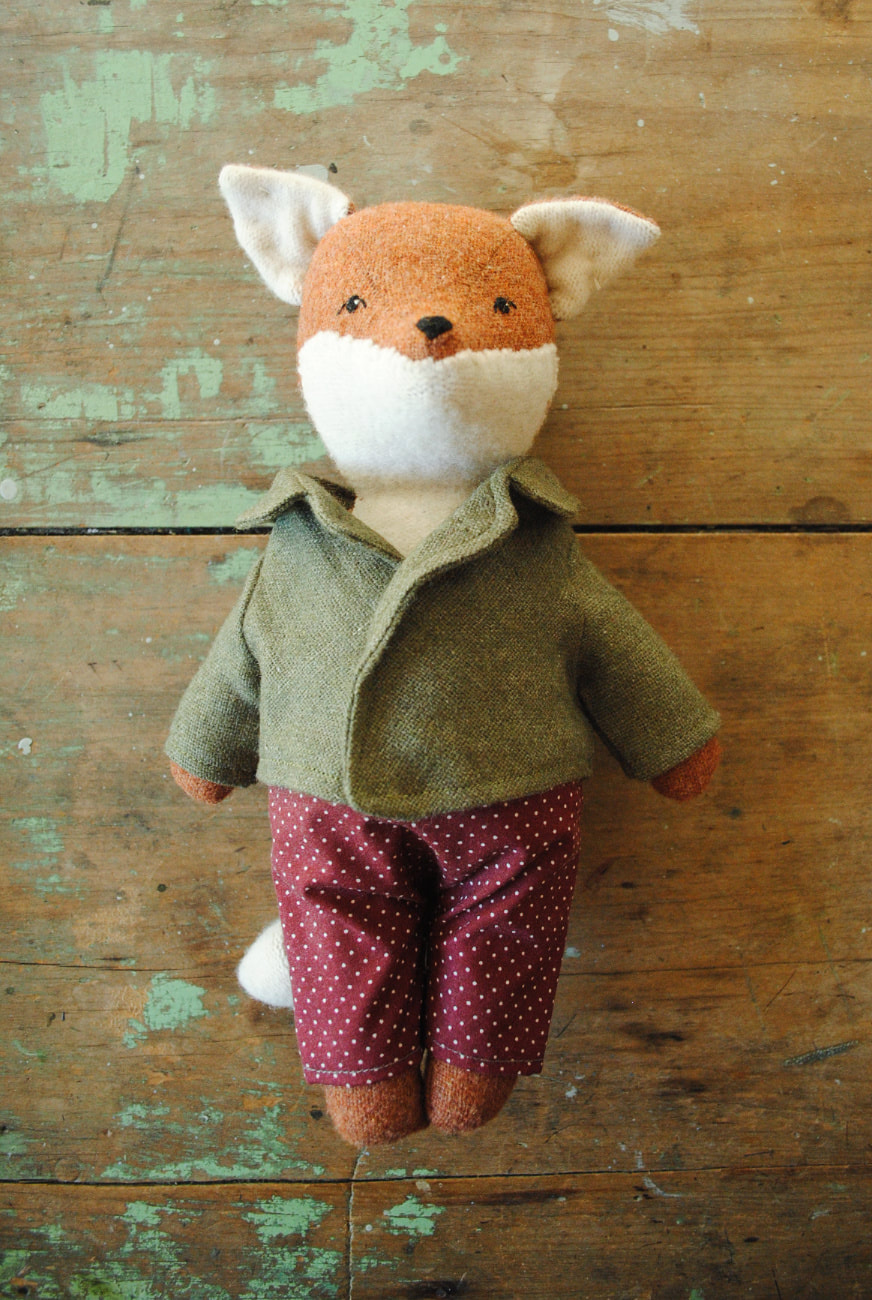
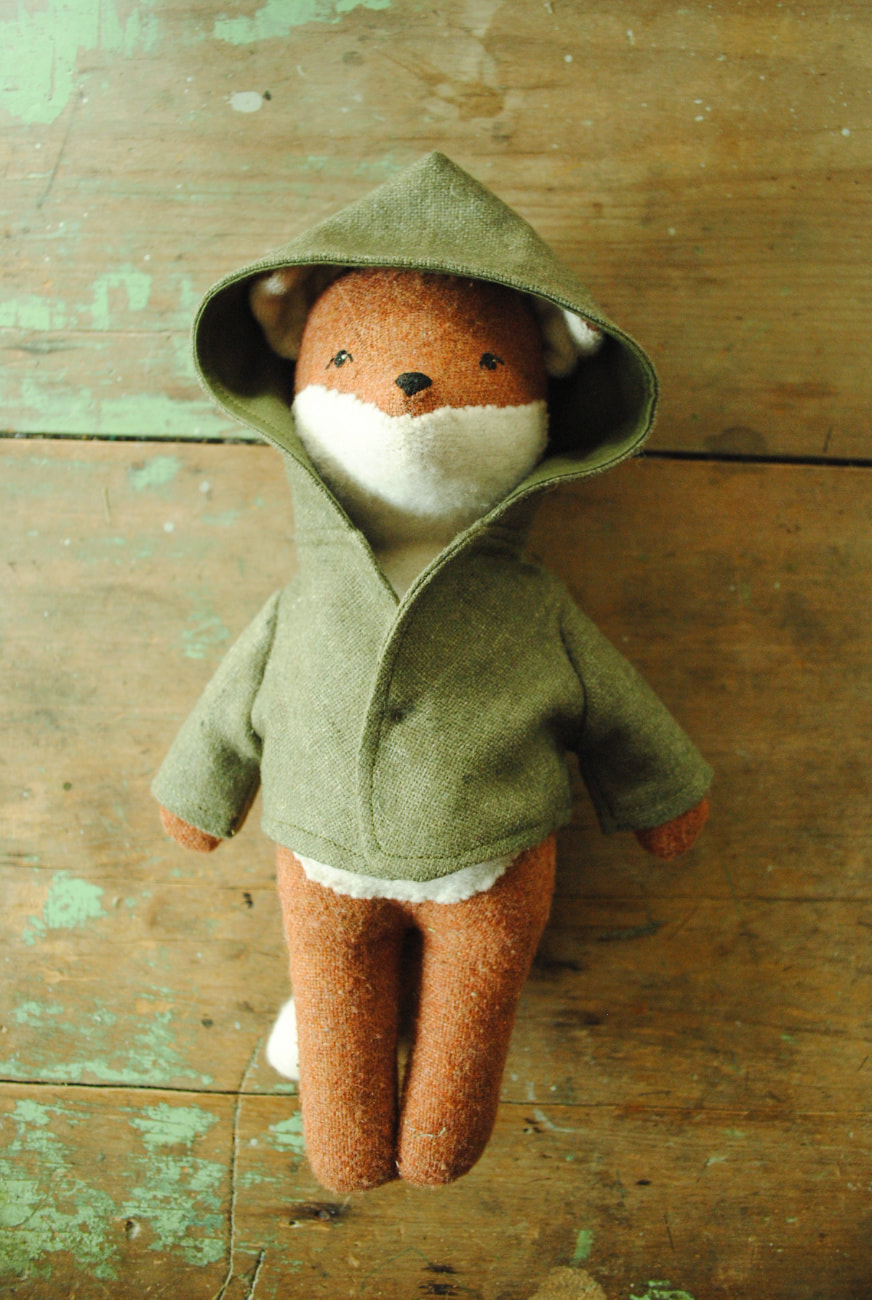
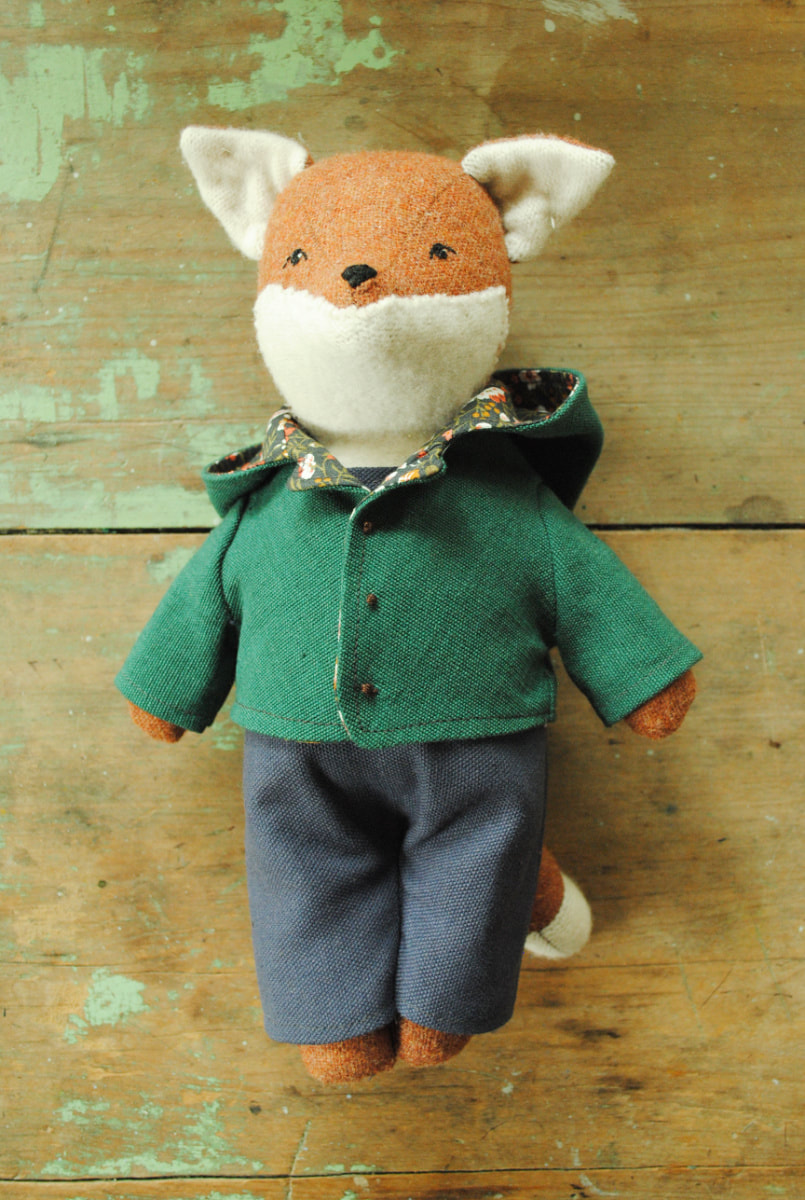
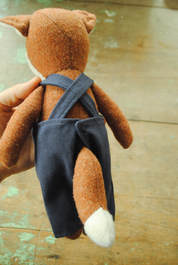
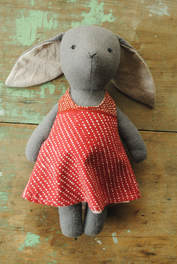
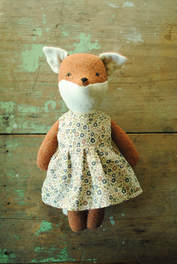
The clothing sewing patterns for my stuffed animal dolls are now available to download and print! Hooray! Now you can make little overalls, pants, coats and dresses designed to perfectly fit your Willowynn animal dolls. These little clothes are simple to sew and are the perfect project to use your special scraps of fabric. I particularly like using remnants of old woollen pants or skirts for the little coats and old denim or corduroy for the overalls (dungarees) and pants. And little squares of cotton print fabric are perfect for the dresses. The coats (or jackets) can be made with a hood or a collar and can even be made reversible. There are three different dress styles to make - gathered, A-line and an apron style (also reversible). My boys now have a whole wardrobe of clothes for their stuffed animals which, they discovered, fit some of their smaller non-Willowynn toys. I'm really happy with the way these have turned out and I hope you like them. Let me know what you think. How is the fit? What did you make?
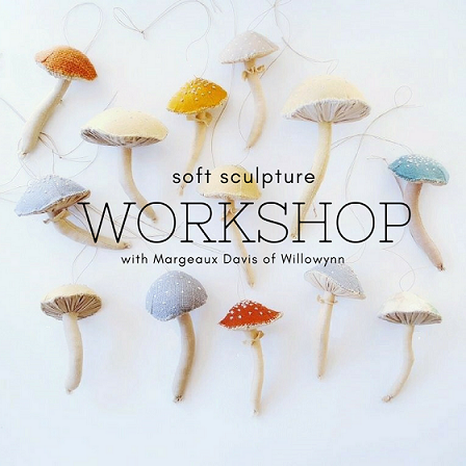
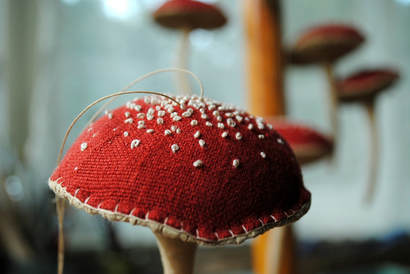
I'm running a special mushroom-making workshop in the beautiful old Federal hall, in the Byron Bay hinterland on Sunday the 10th December. We will spend the morning making some little fabric mushroom ornaments... just in time for Christmas.
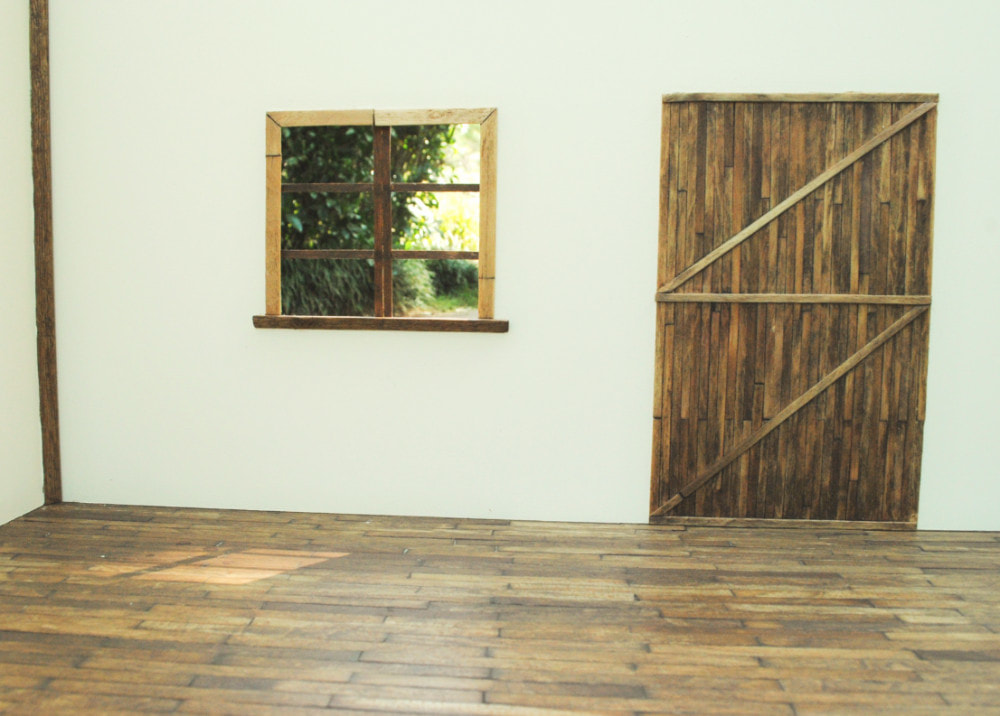
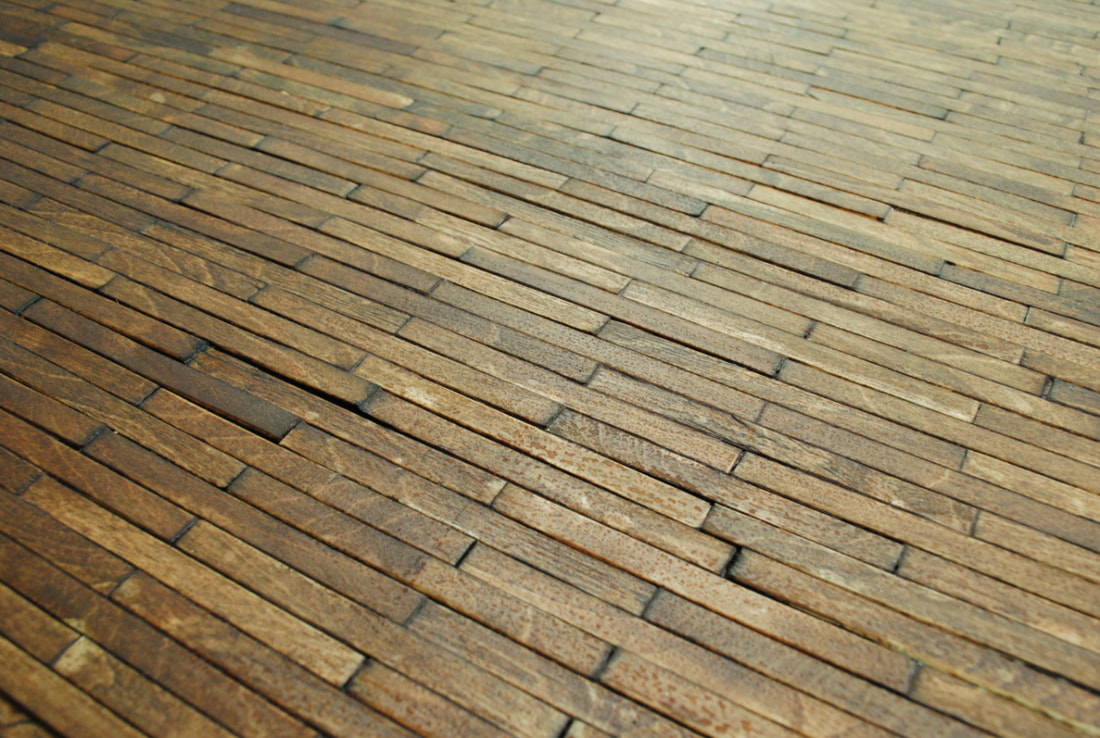
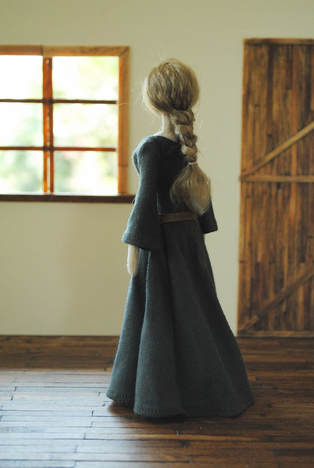
In this workshop you will learn some soft sculpture techniques as well as various stitches for hand-sewing and embroidery. This class is most suitable for adults with some machine and hand sewing experience. For more information, or to make a booking, please visit my online store. I've been slowly making a sort of diorama / doll's house room to display my cloth art dolls in. As with most of the creative projects I take on, this one took a lot more time and effort than I anticipated... but I've really enjoyed it and have learned a lot along the way. I wanted to make one large room with interchangeable walls, windows, a door and wooden floor boards. I really love the way it's turned out - kind of like a cottage or cabin in the woods. I'll continue working on it - adding things like book shelves, furniture, curtains etc., but just wanted to show you what it looks like at this stage and describe how I made the floor, windows and door. I'll start off by explaining how I made the tiny floor boards, and save the window/door tutorial for a later post... To make the floor boardsYou will need:
Instructions:
Suggestions for non-toxic DIY wood stains*:
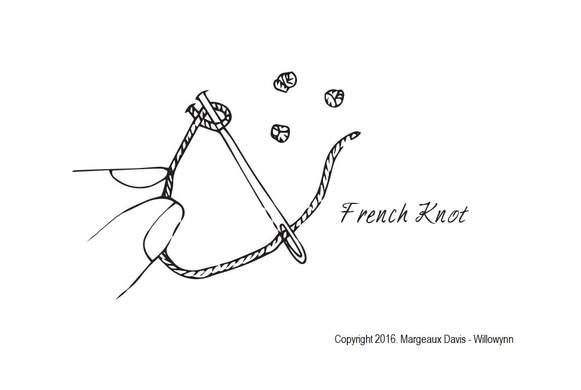
These embroidered star, tree and round ornaments are easy to sew, make great presents and look lovely on a Christmas tree. I've put together some simple instructions, an illustrated stitch library and templates, to help you make these at home. You can download the PDF sewing pattern here, ready for you to print at home. I hope you enjoy making these. You'll find more Willowynn sewing patterns available to download here. I made a little video demonstration (below), showing how to embroider French knots. I found this embroidery stitch quite tricky when I first tried it and looking at diagrams in embroidery books didn't really help me. But I've since taught myself how to sew them so thought I'd show you how I do it. The key is to hold the thread taut with one hand while you wrap it around the needle and insert it into the fabric. Hold on to the thread until just before it is pulled all the way through the fabric (see video below). This is an example of a singular French knot but you can make them larger by wrapping the thread around your needle twice rather than once. This video shows how I stitch the French knots onto my fabric mushroom hanging ornaments. ... and here is a little diagram showing French knots in more detail. I drew this a while ago for one of my sewing patterns. Enjoy!
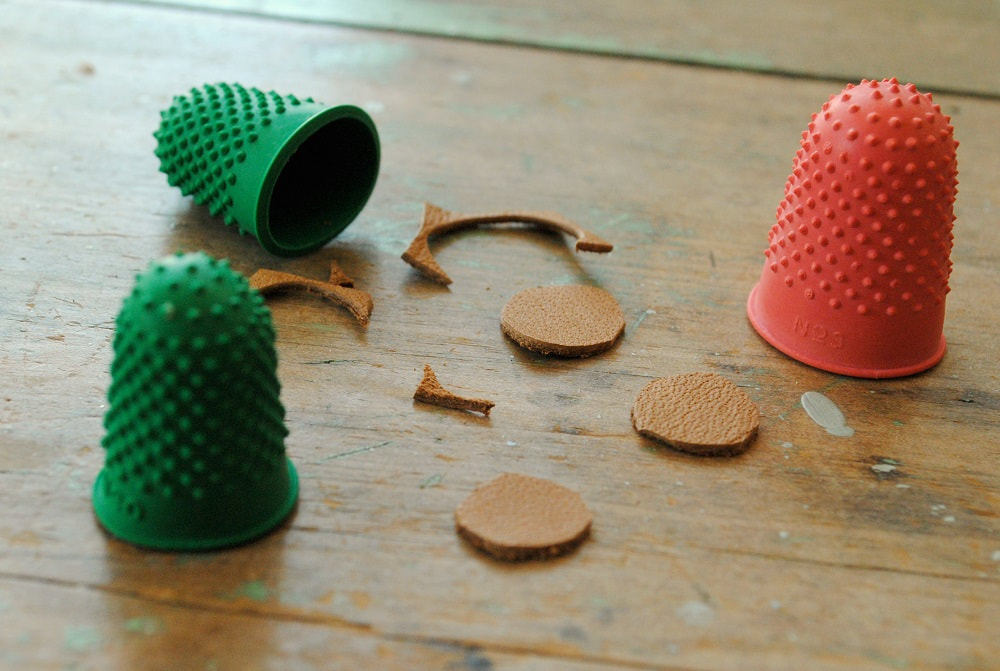
I've been searching for the perfect thimble... comfortable but sturdy enough to protect my finger. Hours of hand-stitching and embroidery can result in a very sore (or even pierced) middle finger tip, but the hard thimbles always seem a bit cumbersome to me (maybe I'm not using them right?).
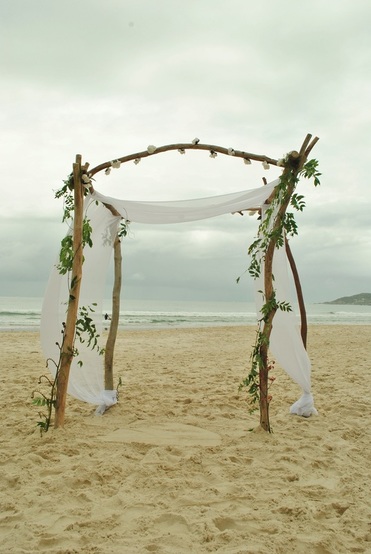
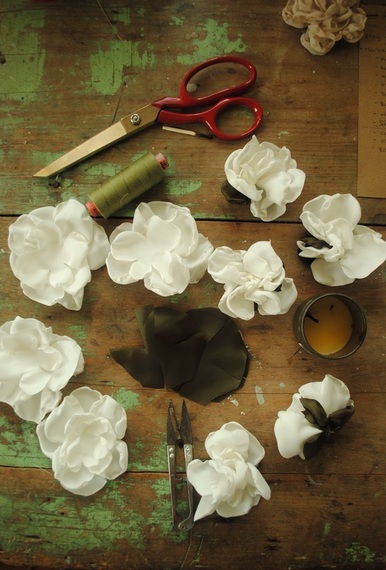
Anyway, a while ago I found a rubber thimblette, usually used for handling paper... I tried it out and now I never hand-sew without one on my finger. They are very comfortable, but a bit too thin to protect your finger when pushing a needle through thick fabric, so I cut a little disk of very hard leather and glue it to the inside of the thimblette, in the tip. The rubber helps to pull the needle through fabric too. It works really well and feels so comfortable that I often leave the house with it still on. You can get them for around 70 cents each and they come in different sizes. I buy mine from my local office supply store. I know there are a lot of different thimbles on the market that will probably do what I need. and I'd like to try them out, but these do work pretty well for me. What do you use? Can you recommend a good thimble? Matt and I had the beautiful task of making the arbour for my friend's wedding over the weekend. I made the flowers and he and the kids collected the branches and vines. It looked beautiful and was the most perfect day. The flowers were really easy to make so I thought I'd share how I made them with you...
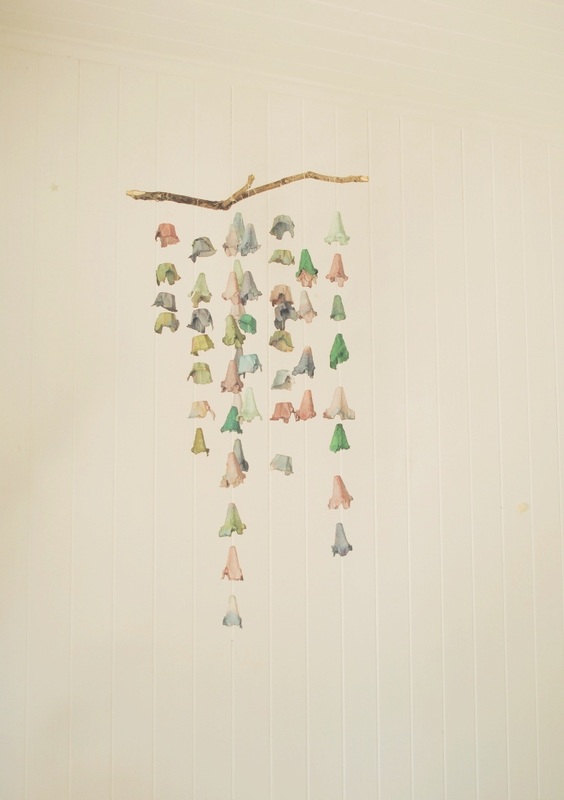
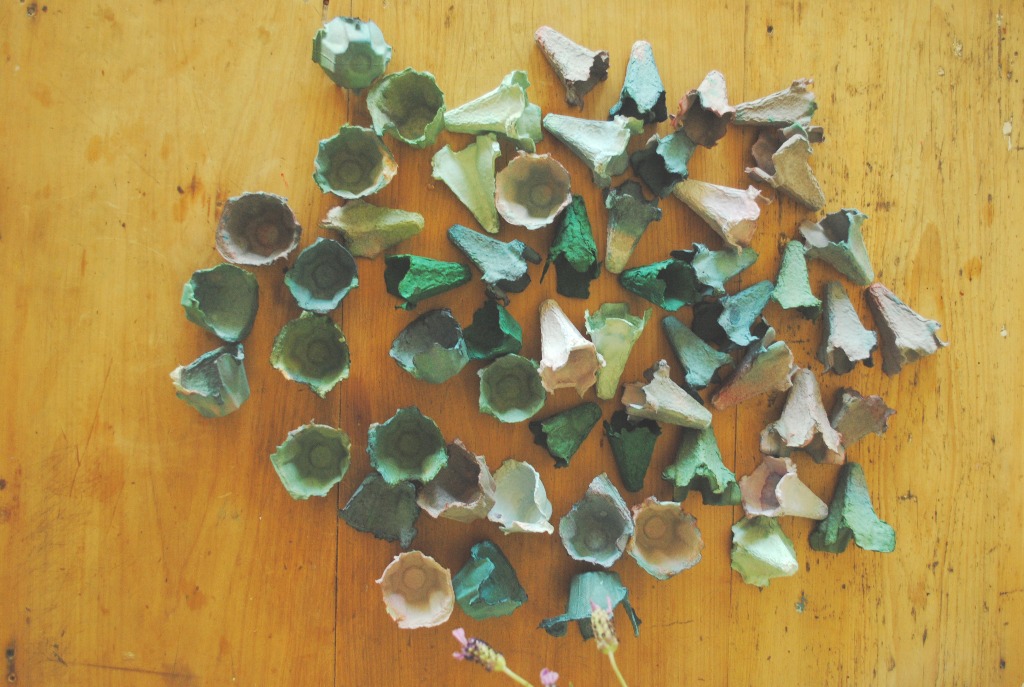
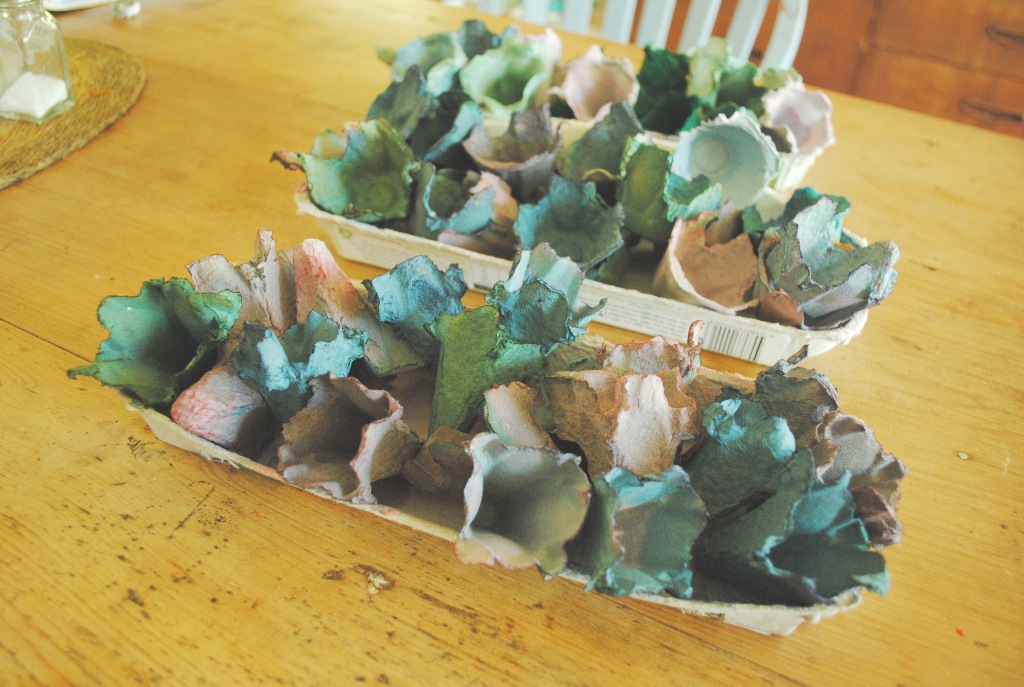
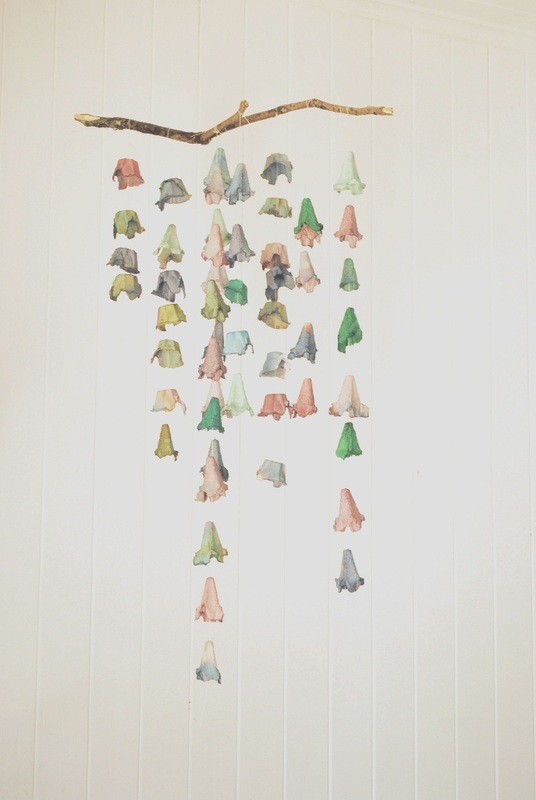
You will need: Polyester or rayon lining fabric in cream and leaf green, Candle and matches, Scissors, Needle and thread. Instructions (for one flower) Step 1: From the cream fabric, cut out three circles about 10cm in diameter, and two smaller circles about 7cm in diameter. Cut one circle from the green fabric about 7cm in diameter. Step 2: With your scissors, make five cuts (evenly spaced) into each circle from the edge of the circle towards the centre but don't cut all the way into the middle. These will be the petals (or leaves in the green fabric). Step 3: Hold each circle of fabric over a candle flame without letting the fabric actually touch the flame. The heat will make the edges of your fabric curl up like a flower petal and seal the edge to prevent fraying. Turn your fabric slowly to curl all the edges. Repeat for all circles. Step 4: Arrange the layers of petals - green layer at the bottom, then the larger layers and finally the smaller ones. Make a couple of stitches in the centre of the circles, through all the layers and secure. You could leave your flowers flat and open or make a few stitches in the bottom to bring the petals up and together slightly like I've done. I threaded a large needle with thick cotton and sewed all of my flowers onto a garland. You could sew or glue yours onto a hair clip or brooch, or use it to finish off your gift wrapping, a corsage or make them into a bouquet. Whatever you like. Enjoy! My little boy asked if we could make a decoration to hang above his bed...so we made this. We made it by tearing up old egg cartons (for some reason I can't bring myself to through away egg cartons...) and dropping the bits into dye pots (just food colouring and water). Then we left them to dry in the sun. They really look like little flowers... Then we made them into garlands using a large needle and strong thread and hung them from a stick... I got the idea after seeing this post about a window display made from egg cartons at Anthropologie. Have you made anything lovely from egg cartons you'd like to share?
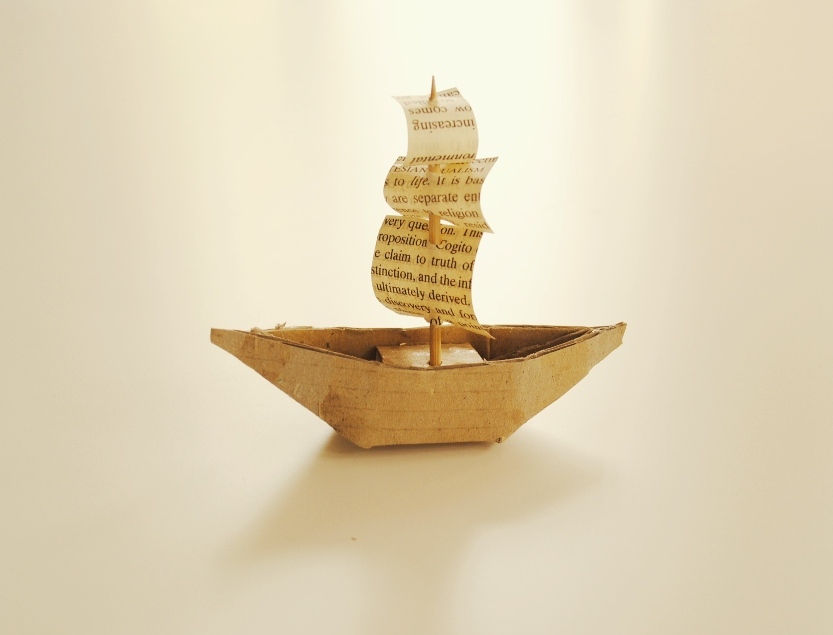
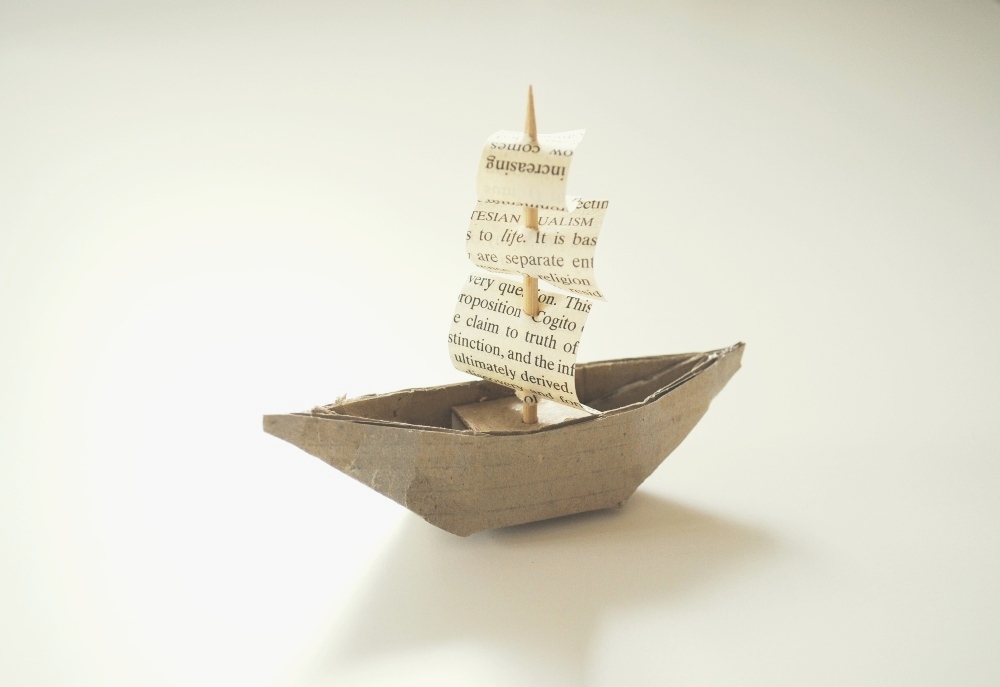
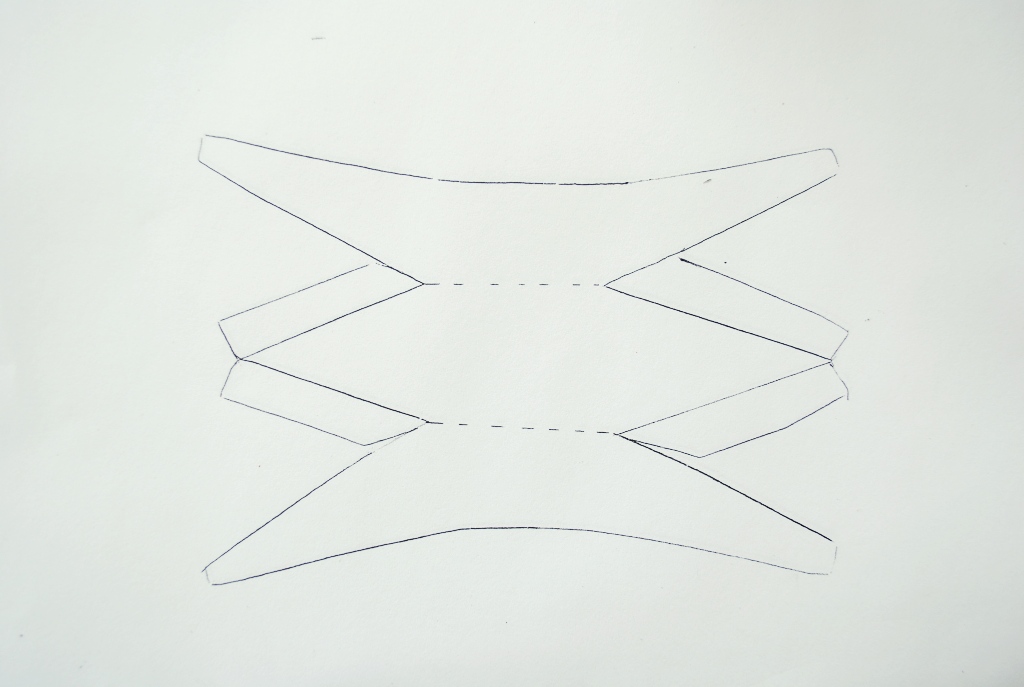
My little boys and I made a few of these little tiny cardboard ships the other day. They wanted a little ship for their whales to swim underneath... Once we'd designed and made a template, we sat down and made lots and lots of little ships using cardboard from an old box, craft glue, a wooden skewer and paper. If you'd like to put your ship in water, you could use waxed cardboard from an old milk or juice carton. Here's the rough template we came up with (below). You could save this photo and print it off to make your own boats. Here's how... Cut out this template and draw around it onto a piece of cardboard. Cut it out and fold it into shape, using glue to secure it all together. We used clothes pegs to hold it in place while the glue dried.
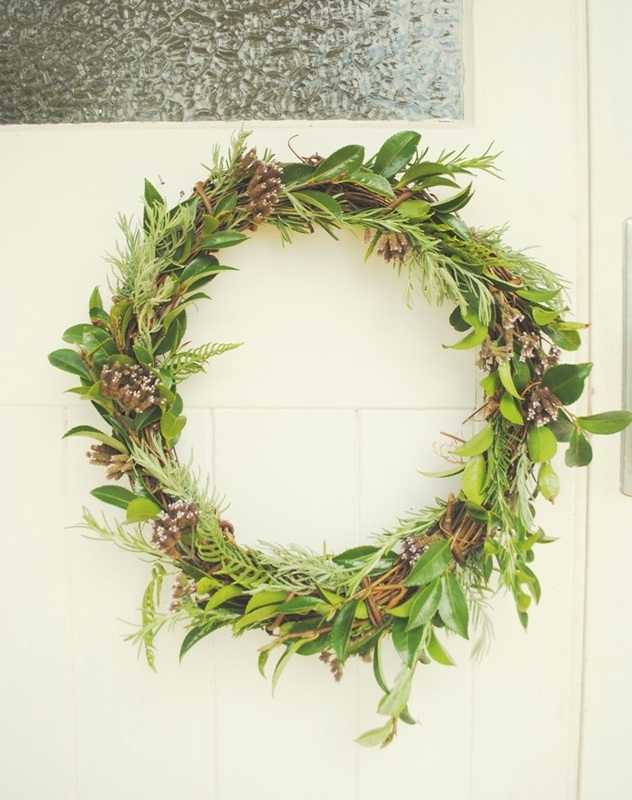
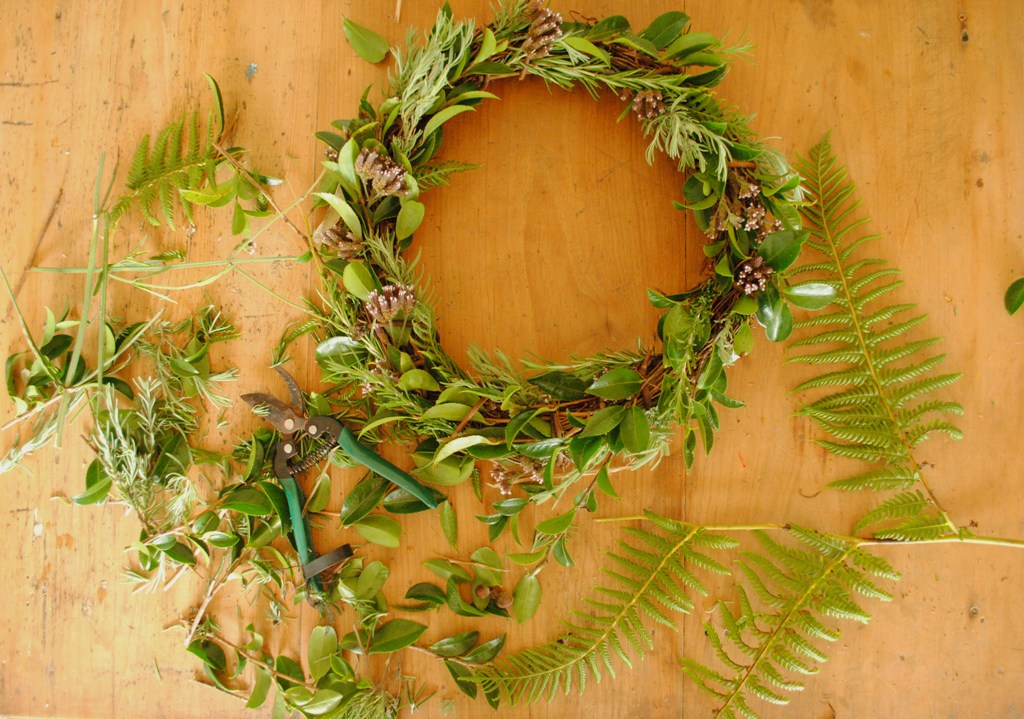
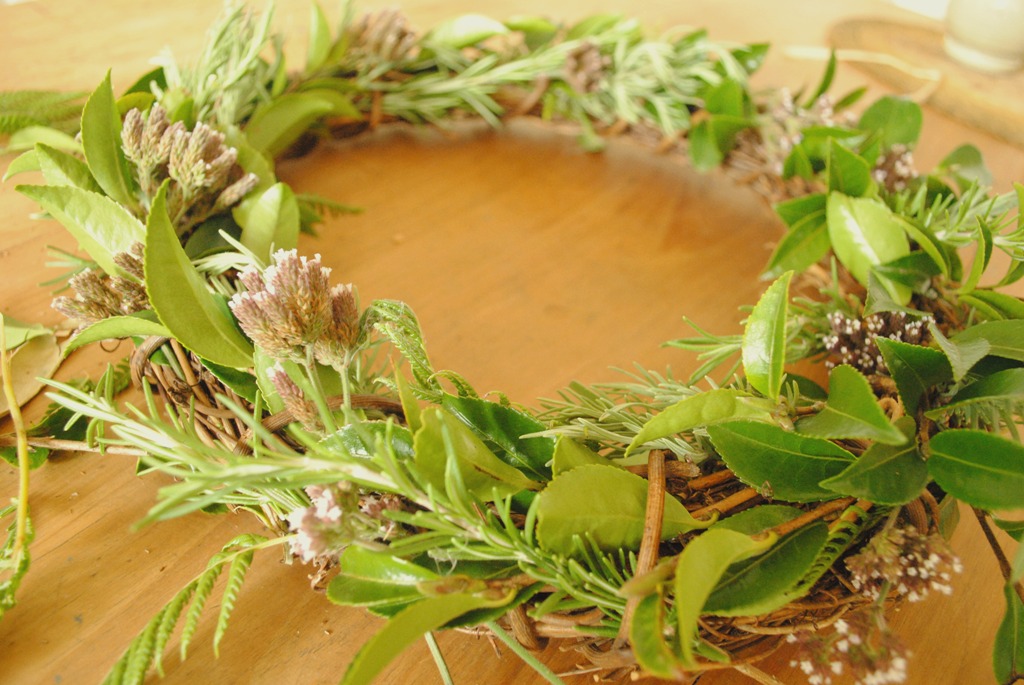
For the base inside that holds the sails up, just cut out a small rectangle of cardboard and fold it to give it three sides. Then poke a hole in the middle (for the skewer). Position it into the boat with glue and poke the skewer piece into the hole. You can make sails however you like. I made three little sails out of some paper from old book pages. Just poke holes at the top and bottom edges of the paper and thread them onto the skewer. Have fun! Feeling all Christmassy today... We cut a pine tree branch and stuck it in a bucket of wet sand in the lounge and decorated it this morning. The kids used their Christmas rubber stamps to make cards and gift tags, and I went out into the garden and collected some bits and pieces to make this wreath for the front door... It was surprisingly simple and quick to make. I had a wreath made of sticks that I found in a charity shop last year...all I've done is poke the ends of little sprigs of foliage into it. You need to make sure your sprigs are pointing in the same direction (clock-wise or anti-clockwise) and use a variety of leaves and flowers. I used camellia leaves, rosemary, lavender, fern and the flower of a weed that grows by the side of the road...not sure what it's called. Anyway...I think it looks lovely...
|
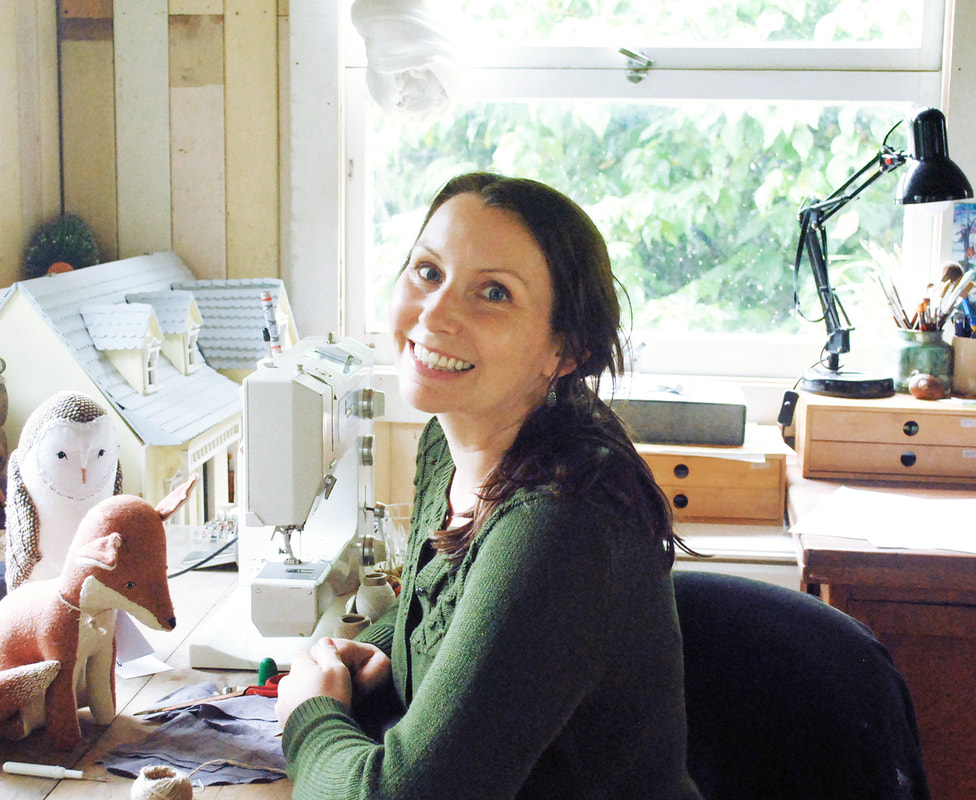
HelloMy name is Margeaux Davis. I'm a doll-maker, sewing pattern designer and children's book illustrator, based in northern New South Wales, Australia. Categories
All
|
©2013 Willowynn. All rights reserved.

 RSS Feed